lidbeckbrent

lidbeckbrent

Showing posts sorted by relevance for query Speckled eggs. Sort by date Show all posts

Tuesday, April 3, 2012

Simple and Easy How tos on Decorating Eggs

For the past 15 years working as a contributing crafts editor to Good Housekeeping magazine, I have created dozens of DIY Easter projects.   The quest to find new ways to decorate eggs is always a fun challenge!

With Easter around just around the corner,  I'd love to share three of my favorite egg projects.


Simple dyed eggs: The fun is in the embellishments.

To create the eggs above:
Shop for pretty trims, and ribbons at your local fabric and craft store.  Some trims can be cut apart to make individual flower heads. Choose trims that are narrow and in scale with the eggs.

Dye a batch of hard-boiled eggs in your favorite color palette.  

Once the egg shells are thoroughly dry, glue pretty trims onto your eggs. One simple trim around the center of the egg is a simple and pretty embellishment.


Découpage Eggs

Working as a contributing crafts' editor for Woman's Day magazine in the 1980's,  I learned this trick: Découpage eggs with cocktail napkins!

An easy project. Here is the How-to in découpage eggs!

Hard boil white eggs. Peel the paper layers of cocktail napkin  apart. Use the thin printed outside layer.

Cut  the paper into small strips to cover the egg. Using white glue - slightly watered down, brush the  glue over a section of the egg, place the paper over the glued area. Brush more glue over the paper smoothing out wrinkles and adhering well. Add more glue and more paper to cover the egg. Do one side at a time, allowing to dry in between.
.
 
Paper Embellishments

Hardboil your eggs, Leave some eggs natural brown and white.  Dye some eggs in pale shades of pink and blue. Use of brown paper and twine inspired this Easter egg project. A simple how-to!

The  brown and white dots are made with a paper punch.   The flower petals and bunny figure are cut from brown paper using small nail scissors.  Apply paper shapes with a glue stick.

Add eggs wrapped with thin twine.


Speckled Eggs

Ahh,  then there is the speckled decorated egg! The look almost as true as eggs found in a bird's nest.

Easy DIY Easter egg decoration!

Dye the eggs using soft pastel colors - Just a few minutes in the bath. Allow to dry.

Be sure to cover yourself and working surface.

Using a watered down sepai brown acrylic paint, take an old toothbrush and run your finger along the brush to splatter the paint.

Place in a terra cotta dish with a ring of wheat grass around the edge of dish.

Monday, March 29, 2010

Speckled Easter Eggs with Food Coloring


This is one of my favorite Easter egg projects I designed for Good Housekeeping using food coloring from the pantry. A few drops in a cup of water with 3 tablespoons white vinegar make the dye. This is an economical and quick way to dye an egg. You probably have everything you need with out having to go shopping!.... Hardboil white eggs. To get soft pastel colors the eggs only need to bathe for a few minutes, then dry. To get the speckles: mix 10 drops of red and 5 drops of green food coloring in a small glass, a few drops of water and you have brown dye. To get the speckles use a old toothbrush, dip it in the brown, shake off excess. Point the toothbrush 6 - 10 inches from the egg. Run your finger across the bristles from front to back to get the splatter effect. ( you might want to wear rubber gloves)!!


Once I made the eggs I needed to create a special place to display them. While they look great in any basket here is a quick way to do something a bit different.
The base: Use a 4" terra cotta pot and paint it yellow with acrylic craft paint (or leave it natural). Turn it upside down and place a 9" or a 12" terra cotta plate on top.
Use wheat grass, ( it comes in square blocks) from the health food store. Cut it into 1/2 " thick slices. Lay the wedges down around the plate to get a nice green grass border. Fill with your pretty speckled eggs.


Tuesday, March 26, 2013

Flower Show Centerpiece: Styling An Easter Table


Styling An Easter Table 
Inviting friends and family to our Easter table is the 
highlight of my Easter Holiday Celebration.

 The Easter Holiday centerpiece pictured below is one I created for next month's April, Good Housekeeping Magazine. It is an arrangement of decorated eggs with readily available Spring flowers. I used soft pinks and blush colors of peach stock, white hyacinth, coral sweetpea and soft pink tulips.

Collecting the simple mismatched vintage milkglass containers for the vases was so much fun. I found them all at local antique markets and shops. Fill each vase with floral foam before adding flowers.


Photo by Michael Partenio
 The table's overall pink hue with colored plates of hot of aqua blue creates a wonderful Easter pallette. I like to make my table runners from yardage bought at my favorite fabric store.  That way I can make inexpensive runners at lengths long enough to run over the ends of the table.  I layered two shades of pink runners: one measuring 16" wide, and another wider runner underneath at 24" wide.  If I have time, I hem the runners.

Here's a time-saving tip: just iron the edges under and use iron-on hem tape for a quick fix!

Photo by Michael Partenio
Adding real eggs to this pretty arrangement is a surprising element. The eggs are glued to shish-kabab spears and added as if they were flowers. 

Here is a simple way to add real eggs 
into your arrangements:

What you will need:
- Brown and white eggs (duck, quail, goose or chicken eggs will work)
- Glue gun
- Wooden shish-kabob spears available at your grocery store.

1. Using a small knife or sharp object, poke a hole into the wide end of the egg. Use the knife to enlarge the hole to 1/2".  Use one end of a wood spear to stir egg inside and help force it out of the egg by breaking the yoke. Then shake the egg to remove yolk. It can be stubborn but it will eventually flow out. Using your wooden spear, push a small piece of paper towel inside the egg to wipe and dry clean.


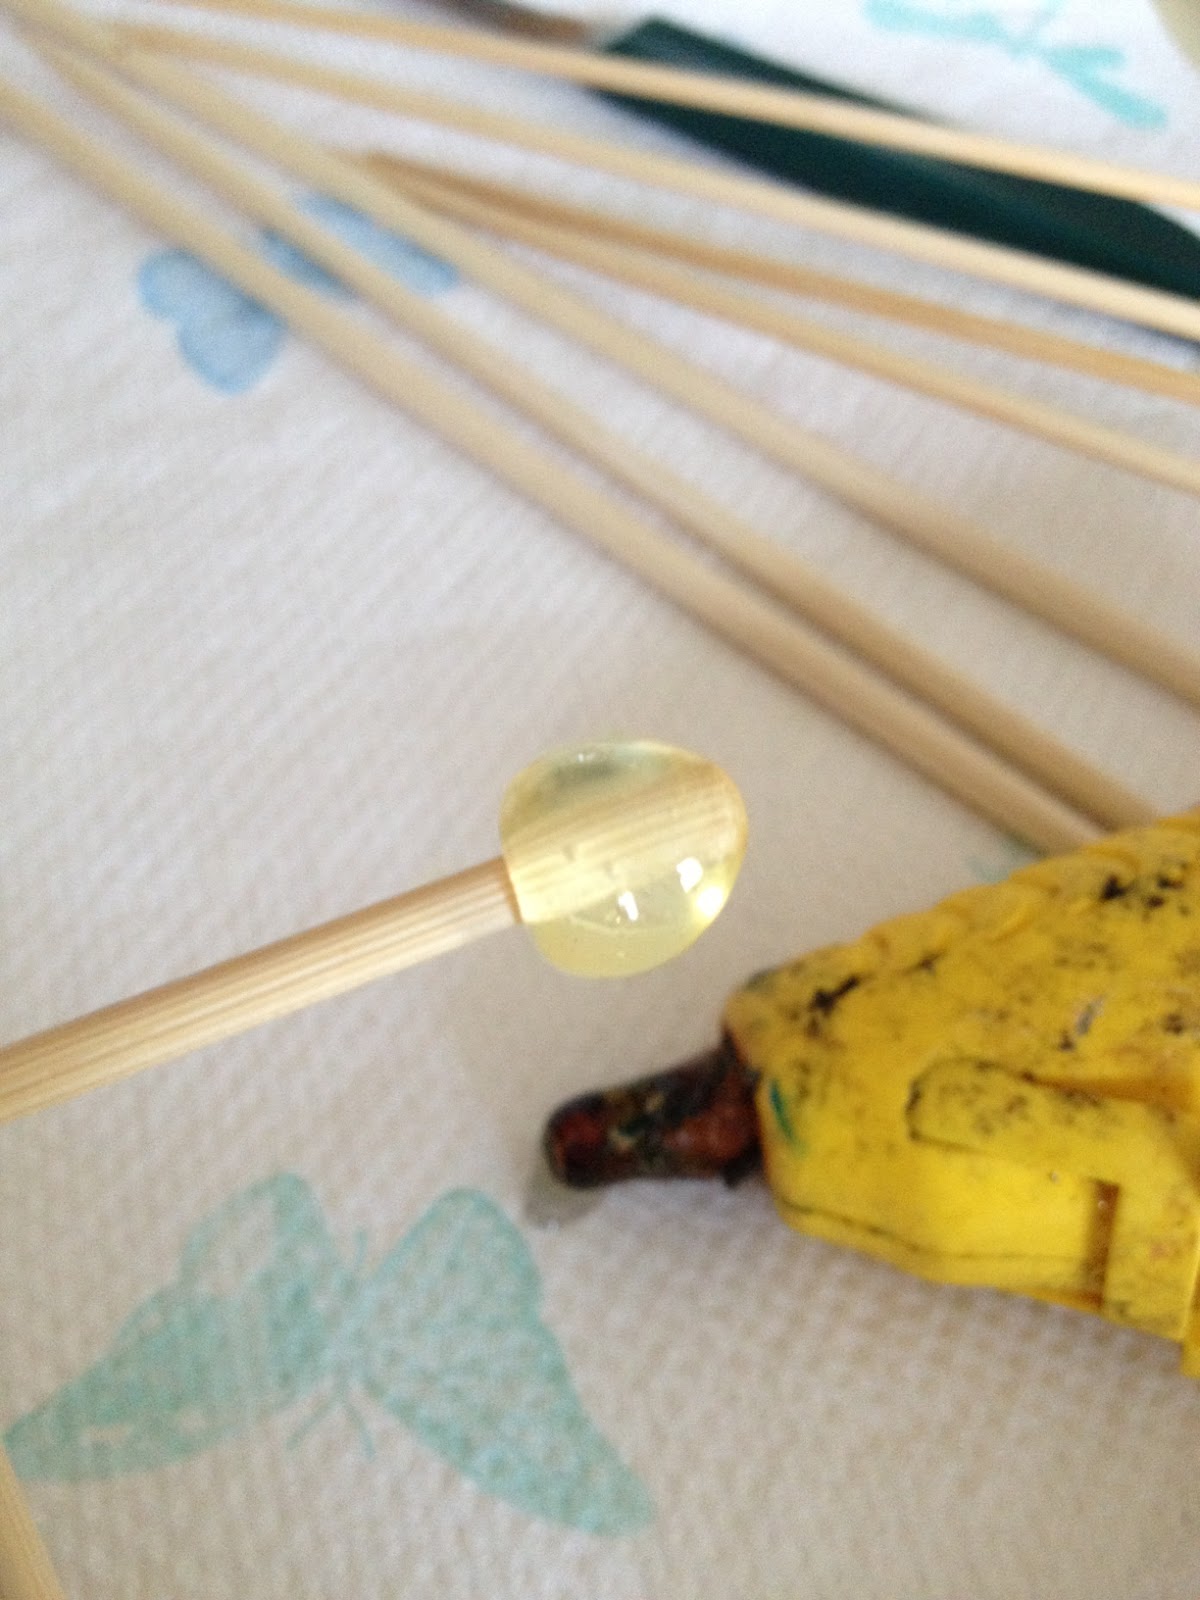
2. Use your glue gun to place a large blob of glue on the flat end of spear.


3. Place glued spear into egg until it rests against the inside bottom. Place large amount of glue on spear where it meets the egg at opening.  Let dry.  The bottom of the egg wil be hidden by the flowers so don't worry about any unsightlyness!


Hint: The small speckled blue eggs on the table pictured above are artifical and from my local craft store. If you can find large artificial eggs at the craft store that have foam centers, the pointed end of the spear can be pushed into the egg. Now you have an even faster application of eggs to add to your Easter Flower Show arrangment.